Tuesday, January 4, 2011

Tshirt Blanket

One day a while back I realized that I had a lot of souvenir t-shirts that I did not want to throw away and decided to make a blanket out of them.  My first blanket ended up being huge.
And then I didn't stop buying t-shirts so I created a second. This one a much more manageable size that is my throw blanket.


The front and back are the front and back of the tshirts, because I didn't want to lose the graphics.


So, a few months back my girlfriend asked if I could make one for her son. He has tons of tshirts from all his sports and she thought it would be a great idea for his room.

The other day I decided to get to work on it since the holidays were over and I had gotten a new sewing machine for Christmas.  I pulled out all the tshirts to see what size I could make the rectangles, since there was a variety of sizes. Then I created a pattern out of paper to eaily cut all the tshirts front and back and ended up with a pile of tshirt rectangles.


Once the rectangles were all cut I started playing with the order I wanted them to be in. 
Once I was happy with the order of the tshirts I started pinning and sewing, pinning and sewing. I forgot how much I enjoyed making these blankets and the new sewing machine made things even easier with it's automatic cutting of the threads! I made sure to be very careful with all the corners so they would line up and then I had the front and back done. I laid down the two halves right sides together and then added the lining on top. Then more pinning and sewing. Then it was the moment of truth; I flipped it inside right and it looked great.  The next step was sewing the opening closed.
In order to keep the lining together I did a few stitches in some corners and then TADA!

Some of the tshirts had button detailing at the neck line and I thought that would be a neat detail to keep.
I had a few thsirts left over so I thought I could make a little something extra...

... a pillow case. I hope he enjoys it! I know they are the most comfy blankets I have ever had.

Tuesday, December 28, 2010

More Handmade Philly Artists and Crafters

As promised here are some more great artists and crafters that I am proud to support.

Jeanne Lombardo is a close friend and artist. We met years ago while working together and she is the one who turned me onto Handmade Philly. Jeanne and I sometimes get together for our own art days and just bounce ideas off eachother.  Jeanne has a great sense of color and she is so whimsical. She has some of her pieces available at Square Peg Artery & Salvage. Find Jeanne's blog, Intuition Funktional Art.
A Stitch in Design is Nicole's baby. She and I have sewing in common and she inspired me to want my own embroidery machine. She makes beautiful quilts and I am lucky to own one.  Check out her blog.
Check out Lilith's Apothecary. She creates natural, herbal, and at least partially organic bath, body, and beverage tea products. Check out her blog!
We Bit Trendy is all about handcrafted items for mothers and babies. Shop their Etsy shop here.

Monday, December 27, 2010

Helping out my Handmade Philly friends.

Handmade Philly is working to get the word out about all our artists. So wanted to give a shout out to some and share their blogs with you.
Allison Ostertag, captain of our Etsy team, is a wonderful artist who shares the photography passion with me. Check out her blog here. She also has a shop on Etsy.
I have known Bonnie MacAllister for years, through our involvent in the WCA and now she is a member of Handmade Philly! She is a great artist and a really active participant in the Philly art world. Check her out.  Bonnie also has an etsy page.
Mary Jo Rosania is a girl after my own heart a photographer who loves to sew too! Check out her amazing site here and look through her eyes.
Handmade Philly also has their share of jewelry artists including d'Olivia. Check out her jewelry available on Etsy.

Monday, November 8, 2010

Fall Leaves

I couldn't resist photographing this fall season. I recently moved into a new home that has basically been plopped down into the middle of the woods. The past few weeks it has been snowing leaves all day long. Sometimes when I let the dog out I would sit down on my back porch and listen to the leaves falling to the ground. It has been a very magical time for me this year so I decided to photograph it this time. I hope I can inspire someone else to go out there and photograph the fall.


Don't forget, when you use an SLR you can use the manual setting to throw focus one way or another. The effect can be very dramatic.

Here's hoping you have a great fall. Go out and enjoy it. Find the path and enjoy!


Heidi
HUGs
phillyart.net/heidi

Sunday, August 15, 2010

My Studio Shoot

Mozzie and Me in the Studio
A few weeks ago I had the pleasure of being photographed by Bernadette Dye in my studio for her environmental portraiture project for her MFA thesis. I enjoyed the experience and the images that were the result are terrific! Mozzie, my dog, even got in on the act. Bernadette will be posting other artists and their spaces on her blog. Check her out! Below are some of my favorites from the shoot.


Thursday, July 8, 2010

Light Photography

Photography comes from the Greek φῶς (photos) "light" and γραφή (graphé) “drawing,” together they mean “drawing with light.” So what better project could there be than photographing light. This was an early assignment during my photography classes at Antonelli Institute. Since that time I have, at different times, been inspired to use light in unique ways or just to photograph the light and shadows light creates.

In everyday life you see light everywhere. The light streaming in from a window onto a couch or light streaming in through blinds onto a wall will make you run for your camera anytime.


Then there are those times when you create the photo. The photo below was created for rhythm and repetition but also shows light and shadow quite well.

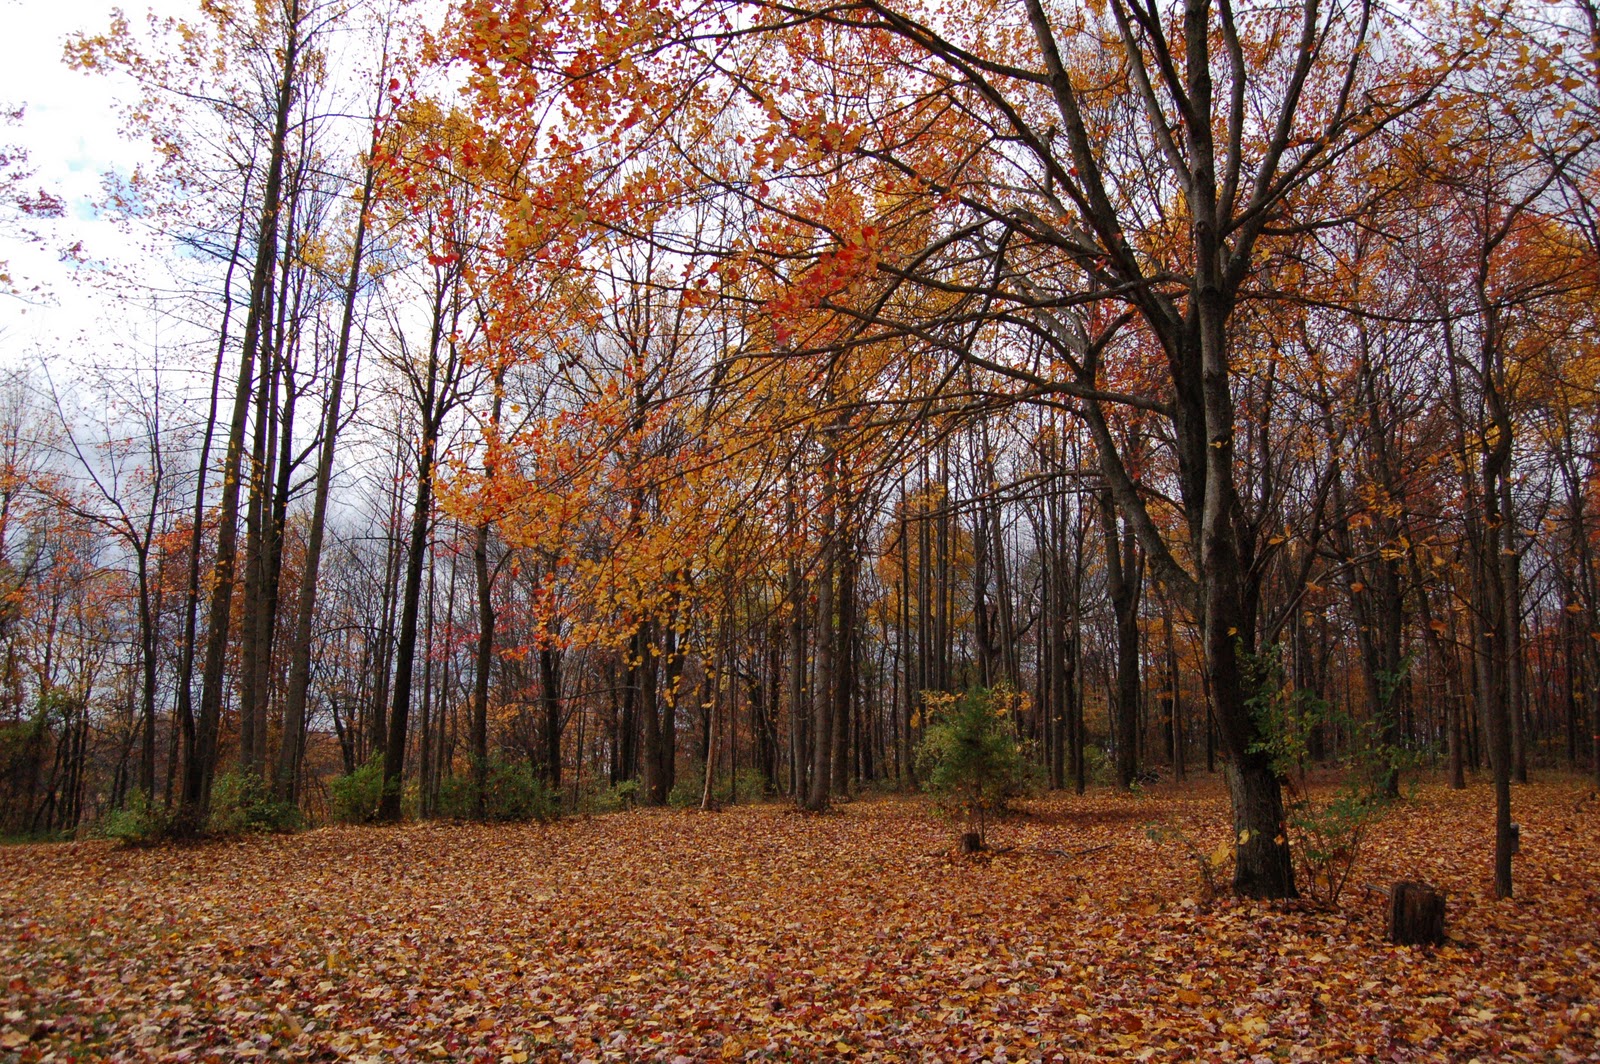
Go outside your door and you can find a million examples of light to inspire you to pick up a camera. I was visiting my mother in Florida and I could not resist the palm tree, since we don’t have these up here in Jersey. One shows the light and shadow on top of the palm frond, which creates a harsher light and shadow, and the other is photographing the light coming through the palm frond creating softer light.


Another way to photograph with light is to use the light in the subject. Back in the day when you used film I did a series of photographs of store front windows at night. I shot with 1600 ISO film, with 50mm lens and shot at 1/60 of a second. Then shot the lighted subjects. An example of this is below; it was taken on South Street one night after full dark. Not only did the photo capture the lit lamp but also picked up neon lighting from across the street.


Creating a portrait of a child is always something amazing. Tricking the camera and the viewer is also fun. Using light coming in from a large sliding glass door (the best light I have ever used) I took the photo below. The photo was created by laying my niece down in front of the door on a green carpet and not going with the recommended exposure time. Leaving the lens open longer than recommended changed the color of the background to make it black.


In the end, just have fun with the camera and try out different settings and places. In this day of digital it is a lot easier to try new things and just play. You no longer have to buy the film or pay for the processing. But as I was taught don’t erase anything from your camera until you have seen it enlarged! You never know what you might have until you see it bigger.
Go out and shoot some light and don’t forget to have fun with it.

Tuesday, June 22, 2010

I Love Collages


I have come to realize that I lovc creating collages. I think it started with my obsession with fashion and my collecting of any fashion image I liked. Instead of throwing away the magazines, I would cut out all the images I liked. I started putting them into photo albums, then one day I decided I wanted to create my hope chest. I decoupaged the entire chest, inside and out, with fashion images.

Then in photography school my Composition teacher gave us a couple of choices for our final project. I chose picture in picture, but one of the other options was to photograph a scene in parts. Then collage all the idividual photos to create one image. A few years later I decided to try this on my own and created Shattered Eden.

Then one day I tried a bit more organized collage with My Backyard.

I have created one other collage, that does not include photos of any kind. My brother got married and my wedding gift was the mirror I created below (I didn't have the mirror when I photographed the piece). I cut squares out of soda cans and nailed each to the wood base. This past weekend I started working on new mirrors like this one, just different sizes. You have to be careful cutting tin cans! Very Sharp!

Just recently, a project was brought up in Handmade Philly. We did an art swap and the person who I got used the word bucolic as their inspirational word. I had been thinking about creating another collage photo but a little smaller. For this one, I found a spot that I thought was perfect. Once I had taken all the photos, I printed them, but instead of 4 x 6, they are all 2" wide.


From this project I had quite a few extra images so I went back to the organized collage and created 2 more collages.


I also went back to my original concept and created the Fashion Mirror. I've created the one below and am working on a second smaller one.